
1. Access the Bot Manager #
- Go to the Bot Manager menu in the XpressBot dashboard.
- Select the bot account you want to configure.
- Click on Bot Reply to proceed.
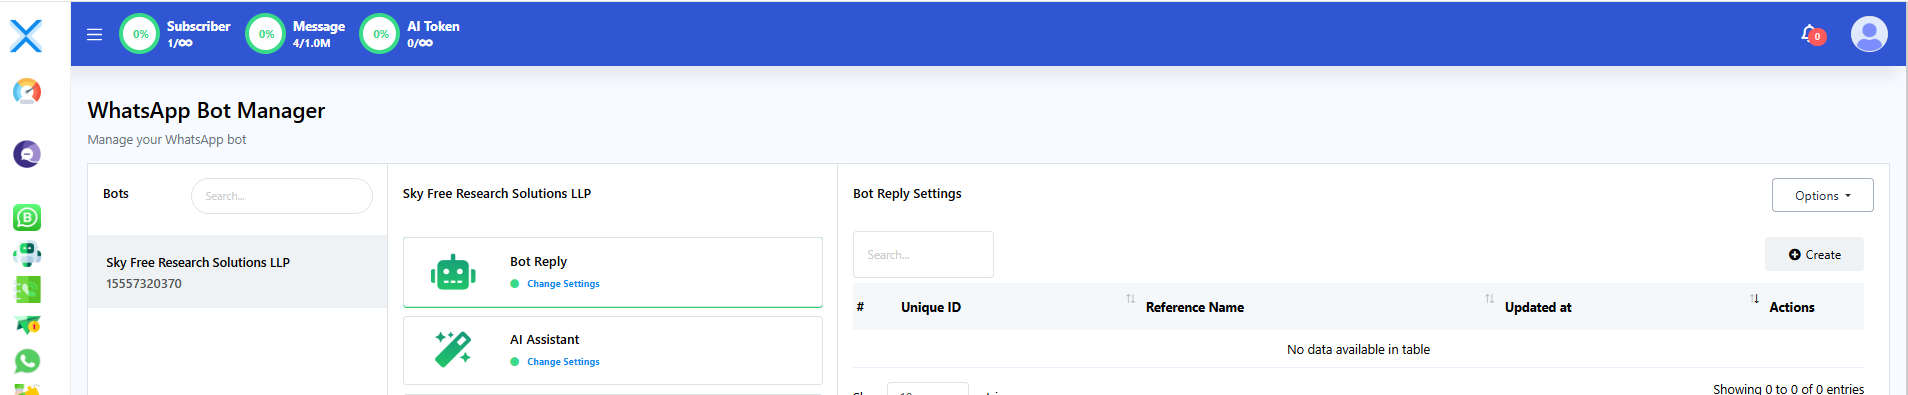
2. Create a New Chatbot #
- Click on the Create button under Bot Reply settings.
- The Visual Flow Bot Builder canvas will appear.

3. Name Your Chatbot #
- Locate the Start Bot Flow component.
- Double-click on it to open the Configure Reference modal.

- Enter a name in the Title field.
- Optionally, choose a label and select a sequence.
4. Set a Keyword Trigger #
- In the Configure Reference modal, enter a keyword to trigger the bot (e.g., “Hello,” “Hi,” “Start”).

- If you select the Exact Keyword Match, the bot will only be triggered for this specific keywords
- If you select the string match, the bot will be triggered for any string of words, phrases or sentences that contain that keyword e.g “Hello, I need help”.
The keyword is Hello and the bot still gets triggered. - Click to save.
5. Configure a Response Message #
- Drag a connection from the Next socket of the Start Bot Flow.
- Drop it onto the canvas to reveal different component options.
- Select the Interactive Component.

- Double-click on it to open the Configure Text Message modal.
- Fill in the Message Header, Message Body, and Message Footer (message body is mandatory).
- Set a delay time if needed.
- Click OK to save.

6. Add Interactive Buttons #
- Drag a connector from the Interactive Component’s button socket onto the canvas.
- An Inline Button Component will appear.
- Double-click on it and enter a Button Text.
- Select a Button Action for when the button is clicked (e.g.,Send a Message, Start a Flow, System Default Action Button etc.).


- Click Save

- Repeat the process to add more buttons.

7. Configure Final Message & Save the Bot #
- Select the Text Component for the final message.
- Double-click on it, configure the message, and click OK to save.
- Click the Save button (top-right of the canvas) to save the entire bot setup.

8. Test Your WhatsApp Chatbot #
- Open WhatsApp.
- Type the Keyword you set and send it.
- Observe the chatbot’s response to confirm it is functioning correctly.
9. Tips & Troubleshooting #
- Keyword not triggering responses? Double-check if the keyword is correctly set in the Trigger Component.
- Buttons not appearing? Ensure they are properly linked to an interactive component.
- No final message? Check if the Text Component is added and saved.
- Changes not saving? Always click the Save button before exiting the visual bot builder.
This guide ensures that new users can easily create a WhatsApp chatbot based on keyword replies using XpressBot. 🚀