
WhatsApp Subscriber Manager is designed to efficiently handle and organize WhatsApp contacts and subscribers. It enables users to streamline their messaging campaigns and communication with a large group of subscribers, making it ideal for businesses, marketers, and organizations. With this tool, you can categorize and manage your contacts, which will help you send personalized messages, schedule broadcasts, and analyze campaign performance. ultimately helping you stay connected and engaged with your WhatsApp audience effectively.
Accessing Subscriber Manager
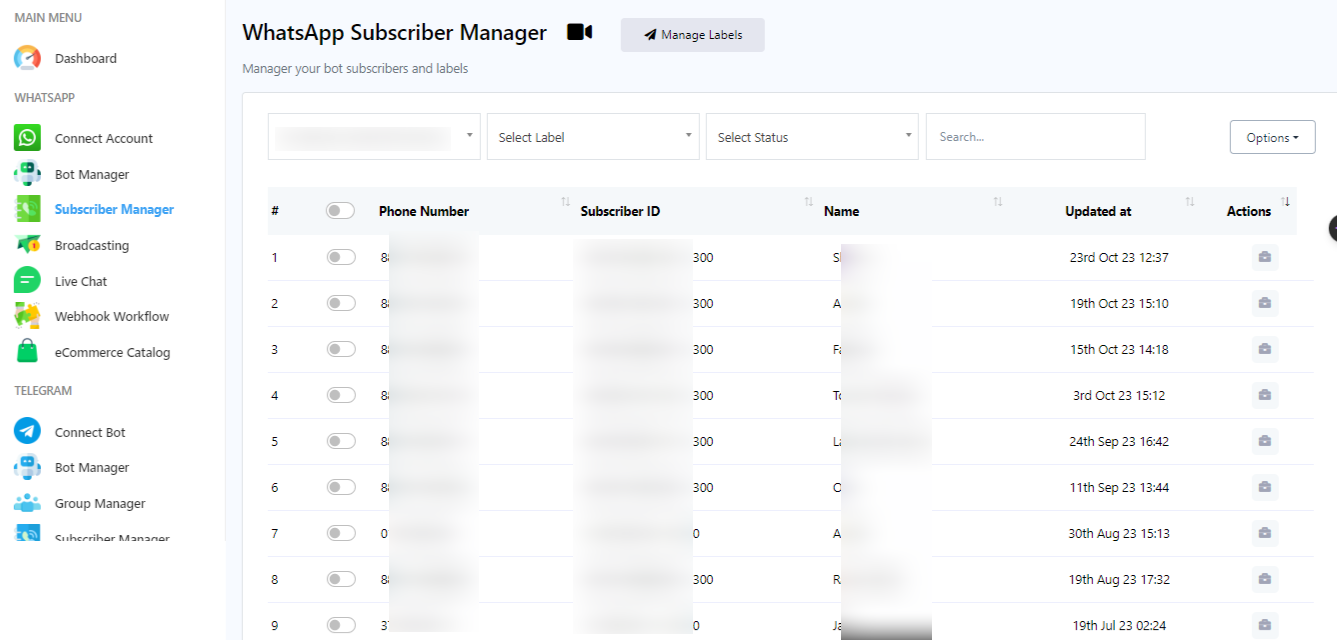
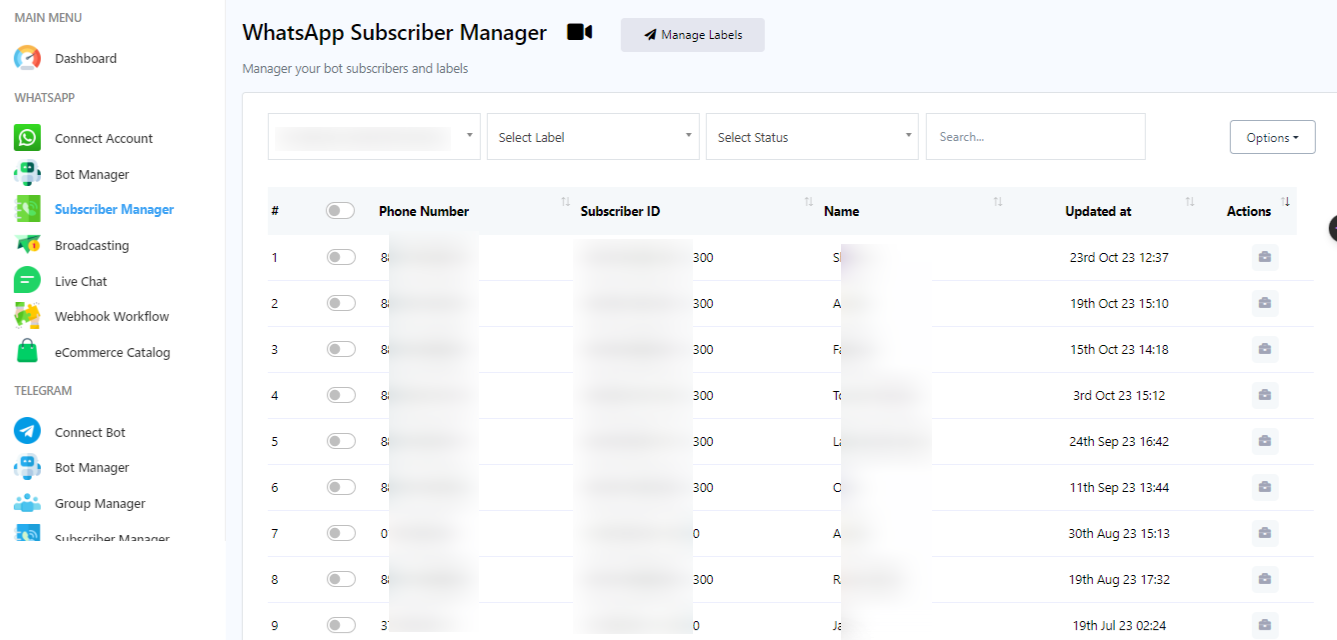
To access the Subscriber manager just click on the `Subscriber Manager` from the dashboard’s left navigation menu.
Managing Labels
Labels are used to segment subscribers list with a tag. To manage labels, click on the `Manage Labels` field in the Subscriber Manager. From here, creating new labels and deleting any existing labels are done.
Creating a Label
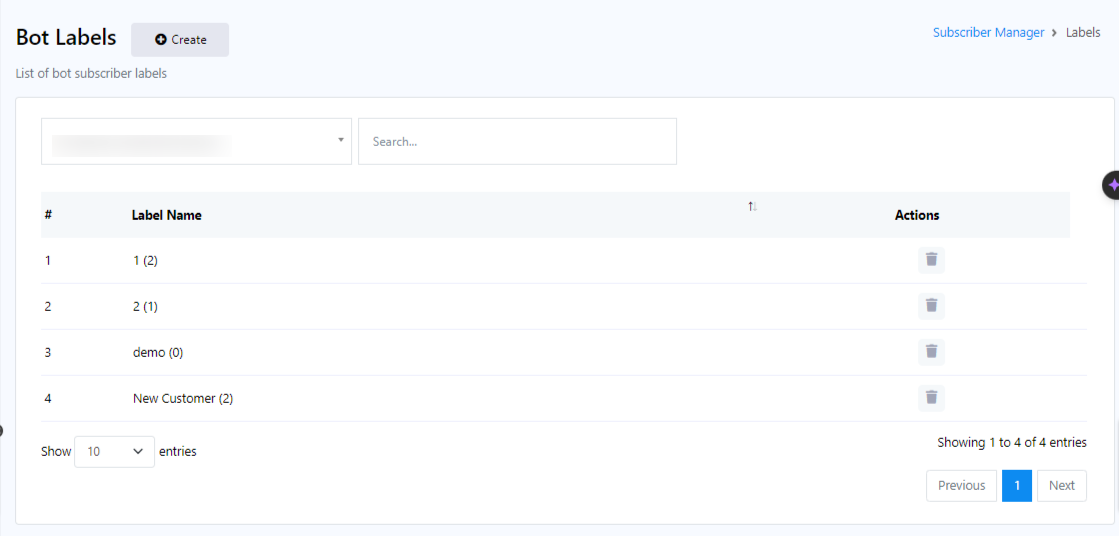
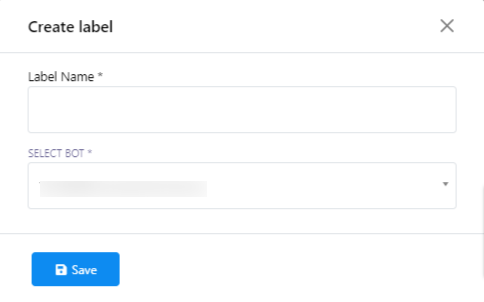
From the Bot Label, click on the `Create` button to create a new label. A pop-up form will appear with two fields: `Label Name` and `Select Bot`.
- In the `Label Name` field, enter the name for the label you want to create.
- In the `Select Bot` field, choose the bot account for which this label will be used.
- Click the `Save` button.
- You`ll receive a success message indicating that your label has been created.
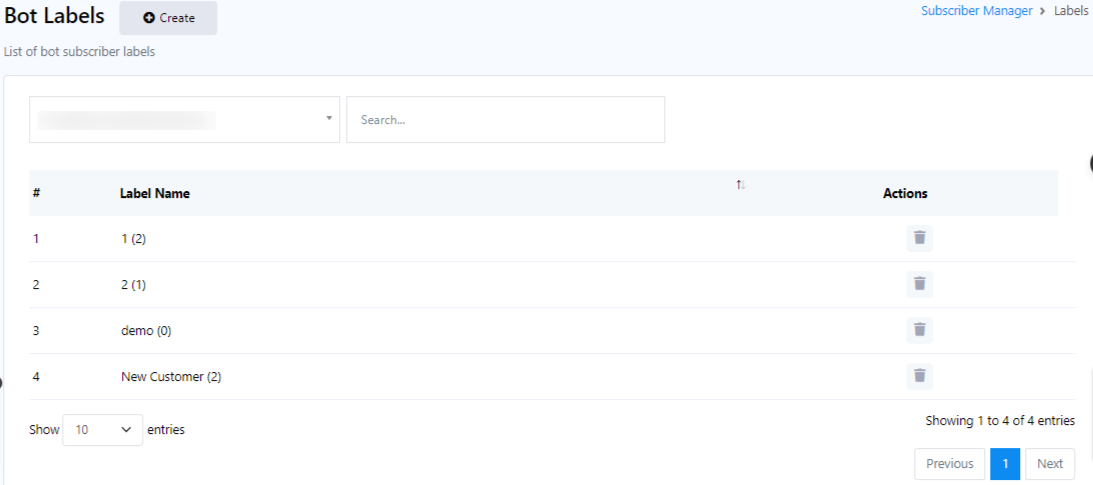
- Close the `Create Label` field. Your new label will now be added to the list of labels.
Deleting a Label
You can also delete a label by clicking on the action button (Delete icon) associated with the label name.
Searching for Subscribers
On the Subscriber Manager page, you can search for subscribers using the search bar and different options.
Using Options
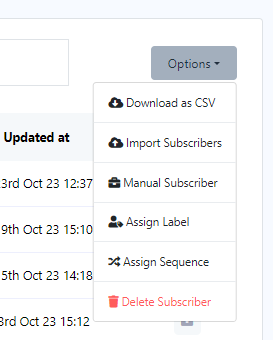
Click on the `Options` button for various tasks. A drop-down menu of options will appear.
Download as CSV
Export WhatsApp subscribers by clicking on the `Download as CSV` option from the menu. This will allow you to export the subscriber list into a CSV file to use it on a different WhatsApp bot account or whatever.
Importing Subscribers
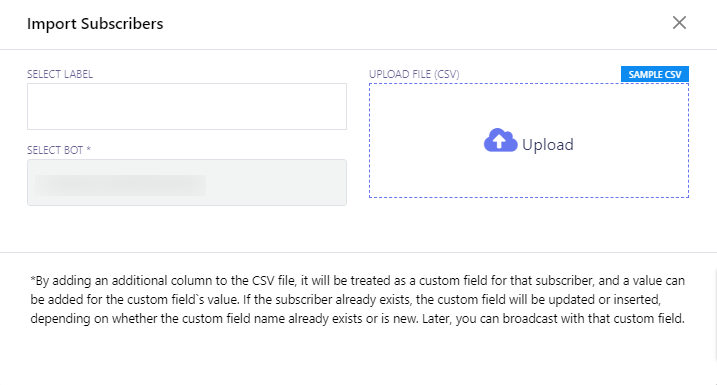
- To import subscribers, select `Import Subscribers` from the options menu.
- A modal form called `Import Subscribers` will appear with two fields: `Select Label` and `Select Bot`.
- Choose a bot from the `Select Bot` field.
- You can also select labels to import subscribers associated with those labels.
- Click the `Upload` button to import the subscribers.
Adding Subscribers Manually
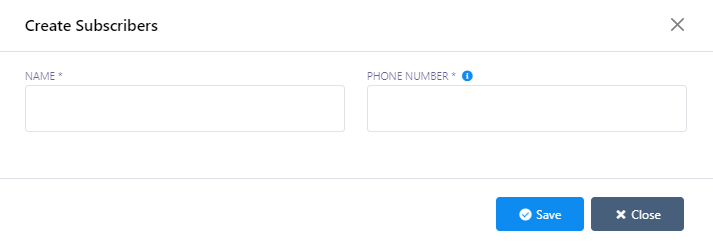
- You can create subscribers manually by selecting `Manual Subscribers` from the options.
- A modal form called `Create Subscribers` will appear with two fields: `Name` and `Phone Number`.
- Enter the subscriber`s name in the `Name` field and their phone number in the `Phone Number` field.
- Click the `Save` button.
- You will receive a successful message.
Assigning Labels
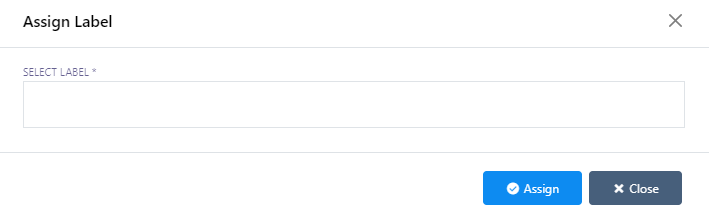
- To assign subscribers to a specific label, click on `Assign Label` from the options.
- Select the subscribers you want to assign to a label.
- A pop-up form called `Assign Label` will appear.
- Choose a label or labels and click the `Assign` button to assign the label to the selected subscribers.
Assigning Sequences
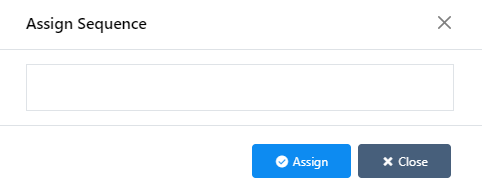
Similarly, you can assign sequences to subscribers by selecting subscribers and clicking on the `Assign Sequence` option.
Deleting Subscribers
- To delete subscribers, select subscribers and click on the `Delete Subscriber` option.
- A warning dialog will appear with `Delete` and `Cancel` buttons.
- Click the `Delete` button, and a successful message will appear.