
Add and Manage Team Members in XpressBot #
Managing user roles and access effectively is essential for businesses that rely on a collaborative environment. XpressBot offers a powerful Team Management feature that allows you to assign responsibilities, control permissions, and streamline your chatbot workflows — whether for WhatsApp, Telegram, or Facebook Messenger.
What is Team Management? #
Team Management in XpressBot allows you to define and assign custom roles with tailored permissions for each team member. Admins and account owners can control who can access specific features — such as live chat, campaign creation, bot editing, or analytics — ensuring data security and task clarity across departments.
Why Use Team Roles in XpressBot? #
- AccessControl: Secure sensitive modules by assigning only necessary permissions.
- EfficientDelegation: Avoid overlap by giving users access only to what they manage.
- CustomRoles: Create roles for Bot Builders, Chat Agents, Campaign Managers, or Analysts.
- LiveChatFocus: Assign agents to specific inboxes to avoid confusion in real-time conversations.
- WorkflowClarity: Separate responsibilities across WhatsApp, Telegram, and Meta channels.
Steps to Add and Manage Team Members in XpressBot #
Step 1: Create a Role #
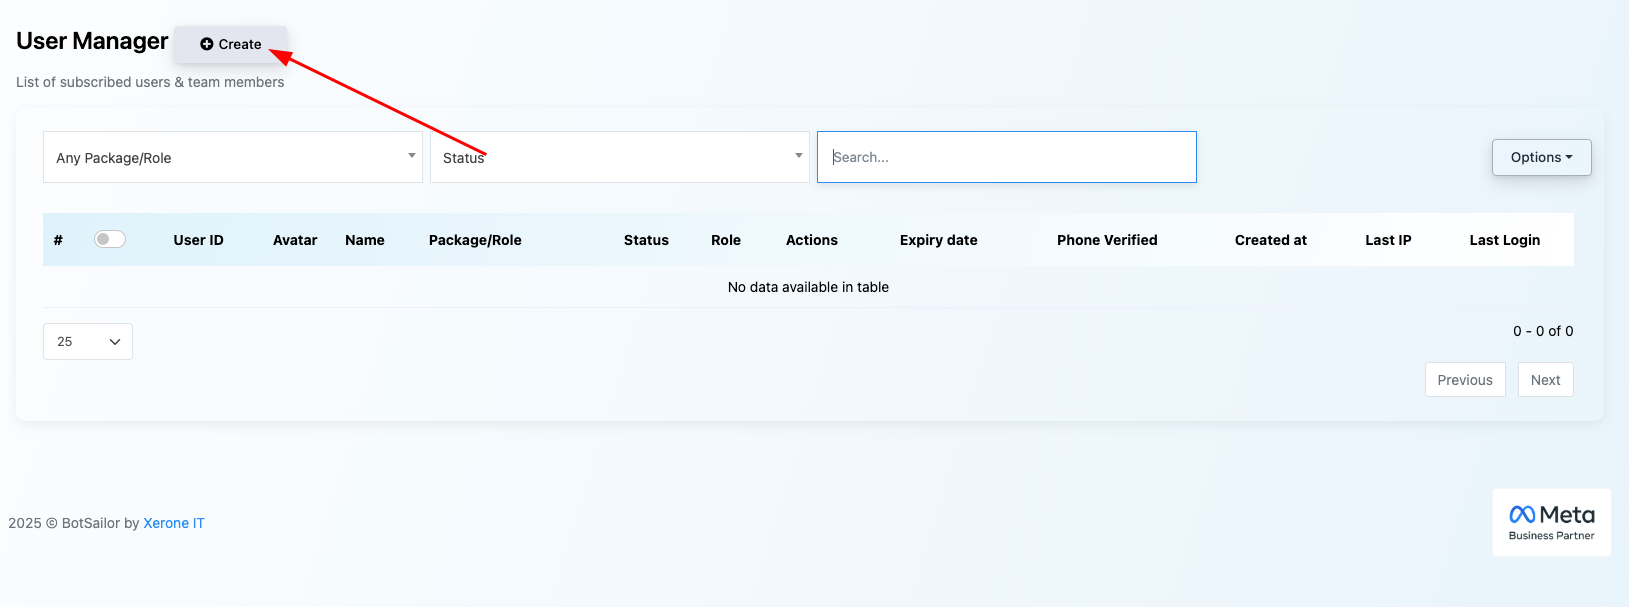
Go to the Control Panel
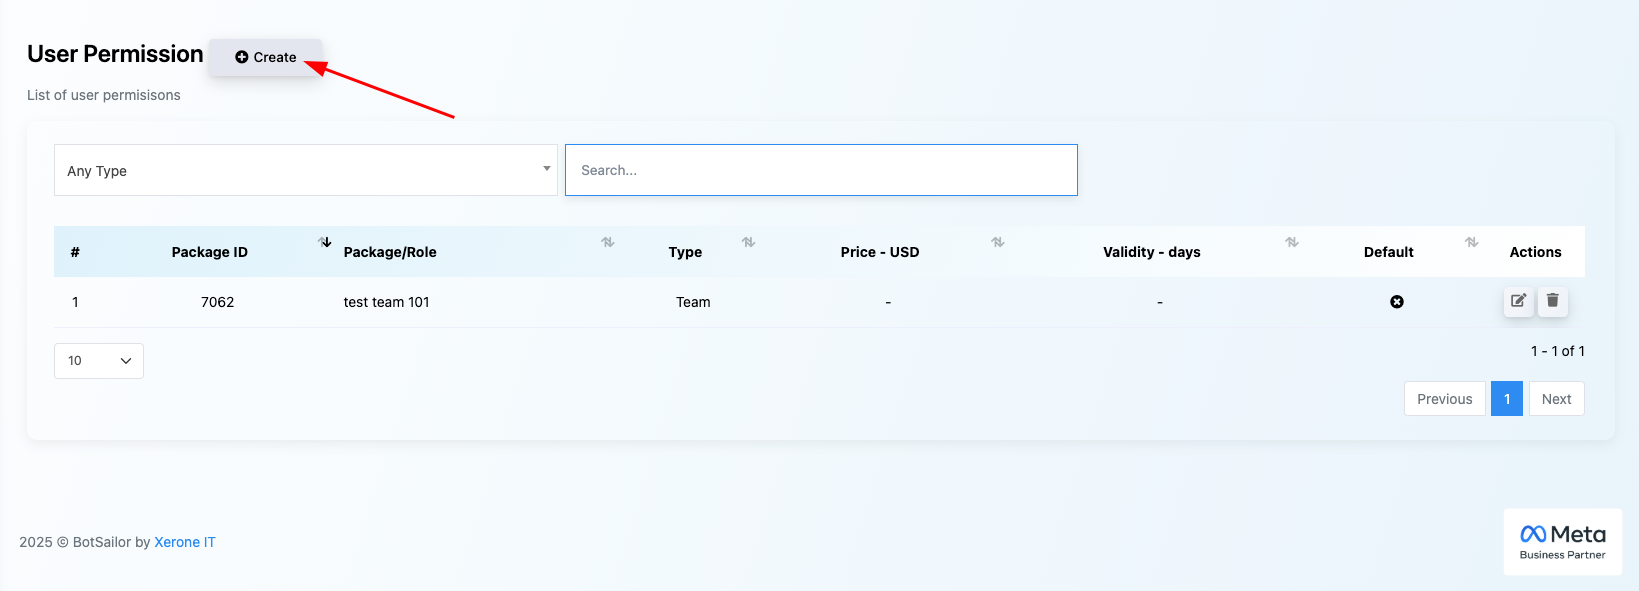
From the left sidebar, navigate to “User Permissions” under the Settings section.
Create a New Role
Click the “+ Create Role” button located at the top-right corner of the screen.
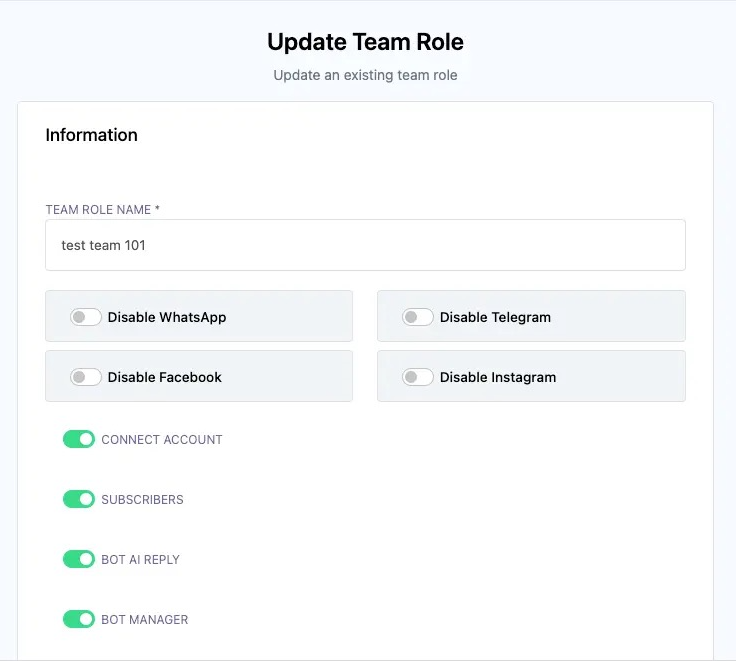
Enter Role Details
Provide a unique name for the team role (e.g., Support Agent, Bot Developer, Campaign Manager).
Set Platform Access
Use the toggle switches to enable or disable access to specific platforms like WhatsApp, Facebook, Telegram, or Instagram, based on the responsibilities of the role.
Assign Feature-Level Permissions
For each selected platform, grant permissions for features such as:
- Connect Account
- Broadcast
- Webchat
- AI Training
- Flow Builder, etc.
You can assign specific action rights: Create, Update, Delete, or Special Access per feature.
Save the Role
Once all permissions are configured, click “Create” to save the new role and apply it across your workspace.
Step 2: Add a Team Member #
Choose a previously created Team Role from the dropdown. #
- Select a Team Role
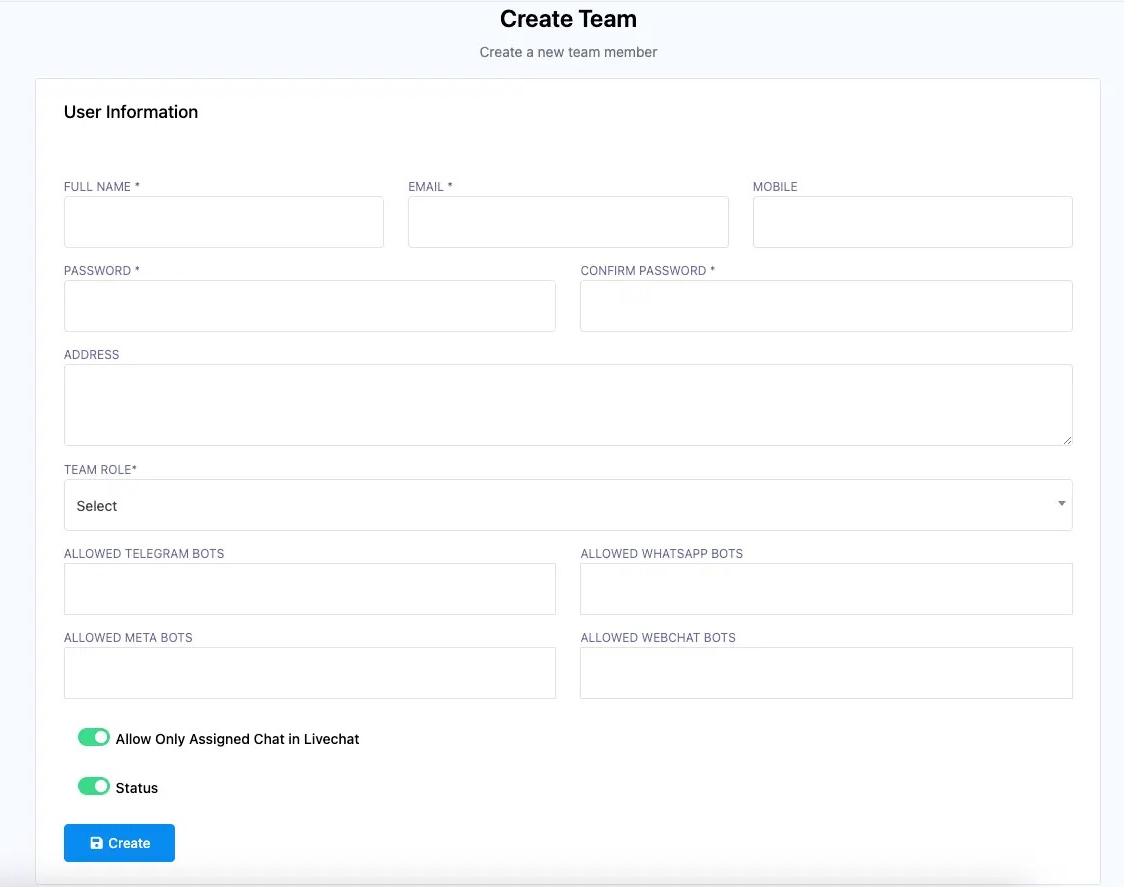
From the “Add Team Member” section, choose a previously created role from the dropdown menu to define the user’s access and responsibilities.
2. Assign Bot Access by Platform
Choose which bots the user should have access to under each platform:
- Telegram Bots
- WhatsApp Bots
- Meta (Facebook/Instagram) Bots
- Webchat Bots
3. Configure User Permissions
- Allow Only Assigned Chat in Live Chat: Enable this option to restrict the user to handle only their assigned chats.
- User Status: Set the user as Active or Inactive depending on whether they should have immediate access.
4. Finalize and Create
After reviewing the settings, click “Create” to successfully add the new team member to your workspace.
ChatGPT said: #
Conclusion: #
Effective team management in XpressBot empowers admins to add members, assign specific roles, and control user permissions with ease. This ensures smooth collaboration, prevents unauthorized access, and helps maintain the integrity of your chatbot workflows. By using role-based access controls, teams can manage bots efficiently while keeping sensitive features secure and well-organized.