Verify Facebook Business Manager
Want to know how to verify your Business Manager account on Facebook? Or how long does business verification take on Facebook? We have all the answers for you! This article will explain the Facebook Business verification process and how to verify Facebook Business Manager account.
1: If you have created an app in developer.facebook.com for Whatsapp Cloud API, a facebook Test business manager account would have been created automatically. Click on your Business manager link associated with your Whatsapp Cloud API app or directly go to Facebook Business Settings.
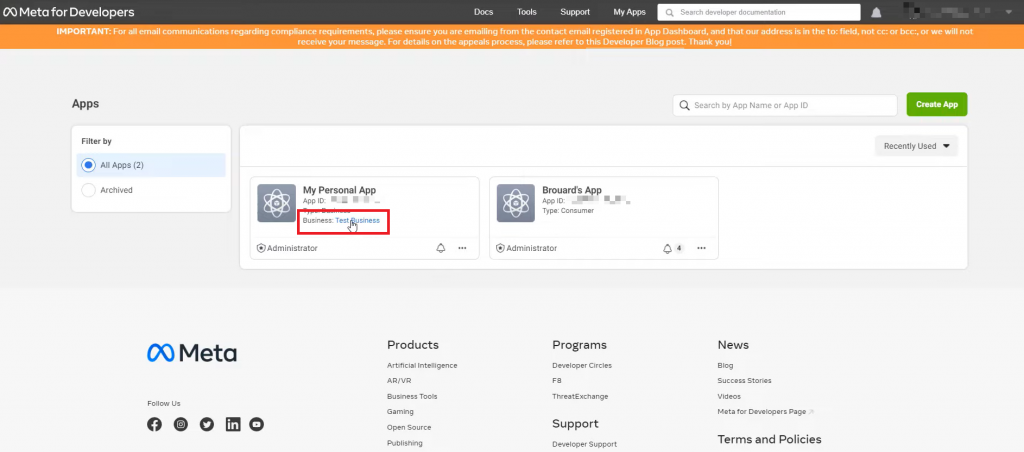
2: After clicking on the Business manager link, Meta business setting page will be opened, select business info and edit your business informations like Legal business name, Address, Business phone number.
3: Now click Security Center and start verification process.
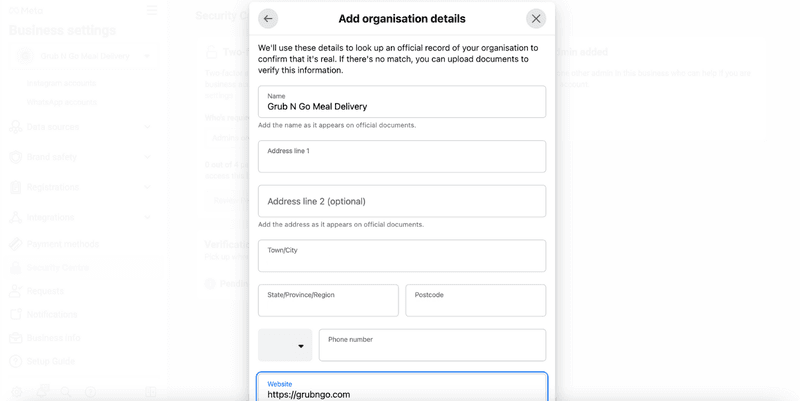
4: Add your organization’s details. If you’ve filled in your company details in the Business Info section, this section will be auto-filled. Double-check the information to ensure that they are accurate.
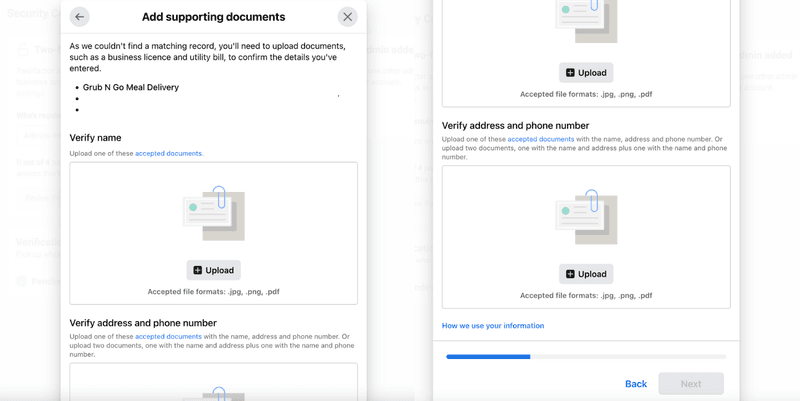
5. Add supporting documents to prove your business’ legal details and submit.
6. Select your preferred contact method for a confirmation code to verify your Facebook Business Manager account. If you’ve verified your domain, you can submit your application right away, without having to receive a confirmation code.
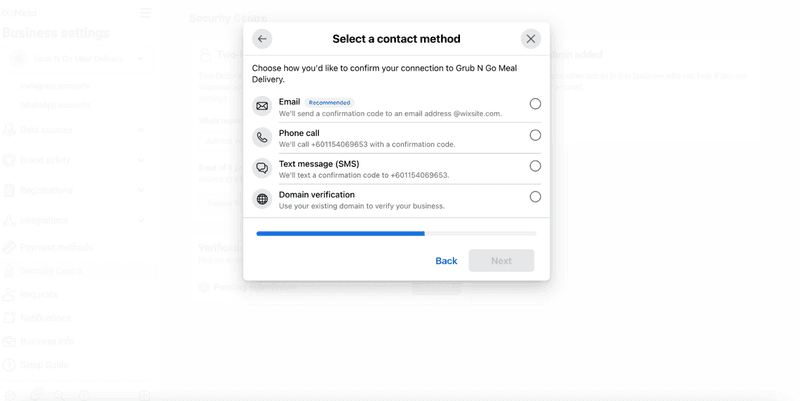
7. Confirm your phone number and click Text Me Now to get a confirmation code. This step depends on the contact method you’ve selected in the previous step.
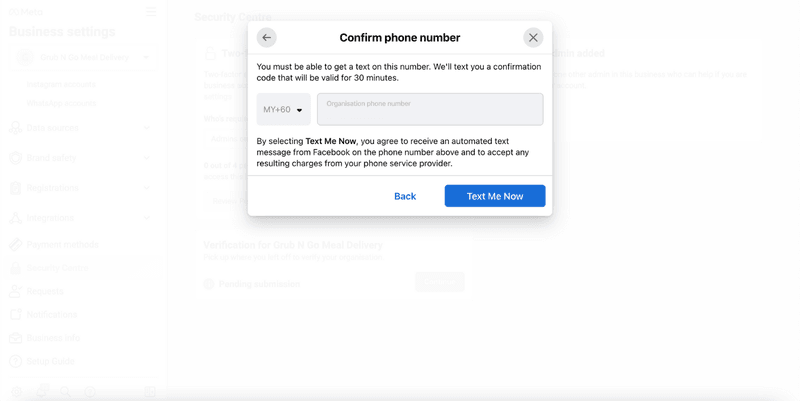
8. Input the confirmation code and click Next. If you did not receive a verification code, click on Resend Code. You can also change your preferred contact method if your chosen method isn’t working.
9: Once you’ve completed the verification process, you will receive your verification status via email and Facebook within 2-3 business days. You can also check the status in the Business Info section or the Security Centre of your Facebook Business Manager.
