
Webhook:
Webhook: webhook is a feature that allows you to connect your telegram bot to external systems or services, enabling automatic data transmission and communication between your bot and other compatible software. This integration helps automate processes and enhances the functionality of your chatbot.
Once you`ve filled out these fields according to your requirements, click the `Save` button to save your settings. If needed, you can also use the `Close` button to cancel the configuration process.

Simple steps of configuring the Start Bot Flow:
- Go to the `Bot Manager`.
- Select your bot.

Choose `Bot Reply`.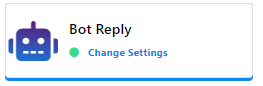
Click on `Create`.
Double-click on `Start Bot Flow`.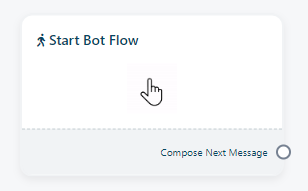
Enter your comma-separated keywords.
Choose between `Exact keyboard match` or `String match`.
Provide a title for your bot.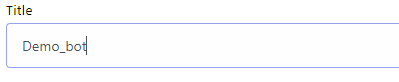
Add a label (You can create a new one by clicking `+ New` if needed).
Select a Sequence if desired (You can create a new sequence here as well).
Assign the conversation to a group based on team roles (If necessary).
Assign the conversation to a specific team member (If needed).
Include a Webhook URL if you want to send data to a webhook.
Webhook: webhook is a feature that allows you to connect your telegram bot to external systems or services, enabling automatic data transmission and communication between your bot and other compatible software. This integration helps automate processes and enhances the functionality of your chatbot.
Save your changes by clicking the `Save` button or cancel them using the `Cancel` button.
Once you`ve completed the `Start Bot Flow` setup, you`ll see a socket called `Compose Next Message`, These sockets allows you to add various reply components. After adding components, we must configure them accordingly.
For the `Compose Next Message` socket, you can add text, images, audio, video, or file components and configure them as follows:
Use of Text Component:
Enter your reply message in the `Please provide your reply message` field. Utilize the `Delay in reply` option if you need to introduce a delay in your response to the customer`s message.

However, in certain situations, rather than displaying a list menu with various components, a single component will appear already connected to the parent component.
For instance, if you drag from the button output socket of the text component and drop it onto the editor, the button component will immediately appear in the editor, already linked to the parent component.
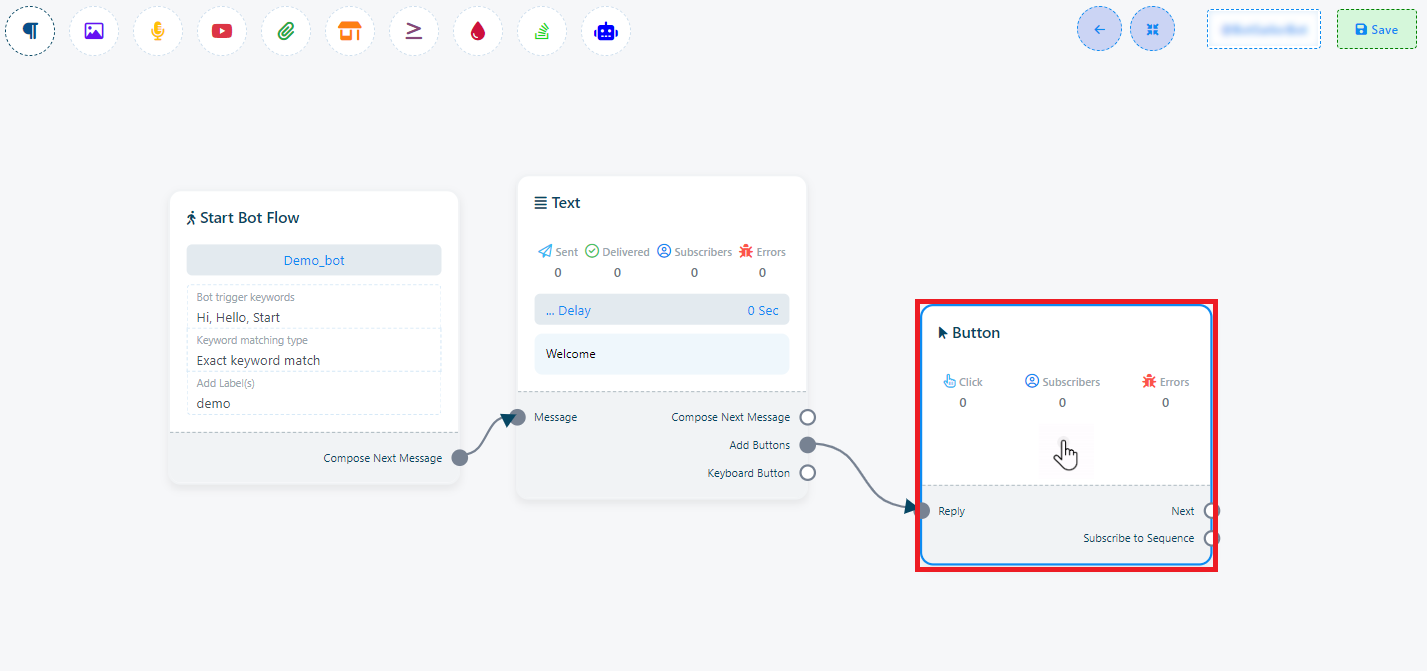
The Button component is not present in the Top-menu.