
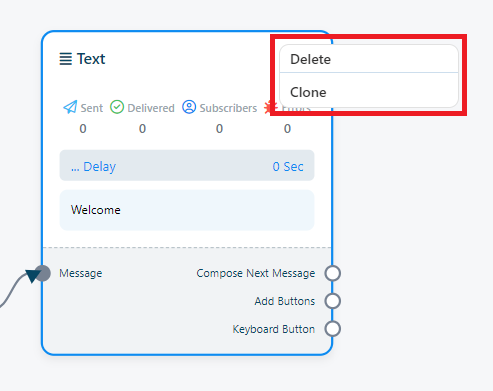
Clone and Delete component
Feel free to duplicate or remove components at any point in time. All you need to do is right-click on the component you want to manage. This will trigger a drop-down menu with two choices: `Clone` and `Delete`. Opt for `Clone` to create a copy of the component or choose `Delete` to permanently remove it from your setup.
Text:
To construct a bot featuring a text element, follow these steps:
Adding Text Component: Begin by dragging the `Text Component` from the available options and dropping it onto the editor.
Configuration: Double-click on the text component, which will prompt the appearance of a sidebar labeled `Configure Text Message`. Within this sidebar, you`ll find a text field.
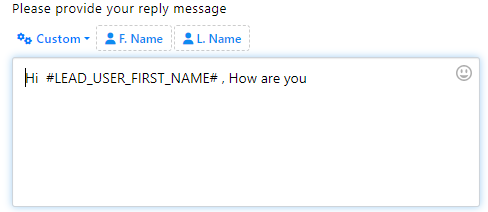
Message Input: In the text field, you can input your reply message. Here, you also have the capability to include dynamic elements like the user`s first name, last name, or custom field variables within the reply message to personalize the interaction.
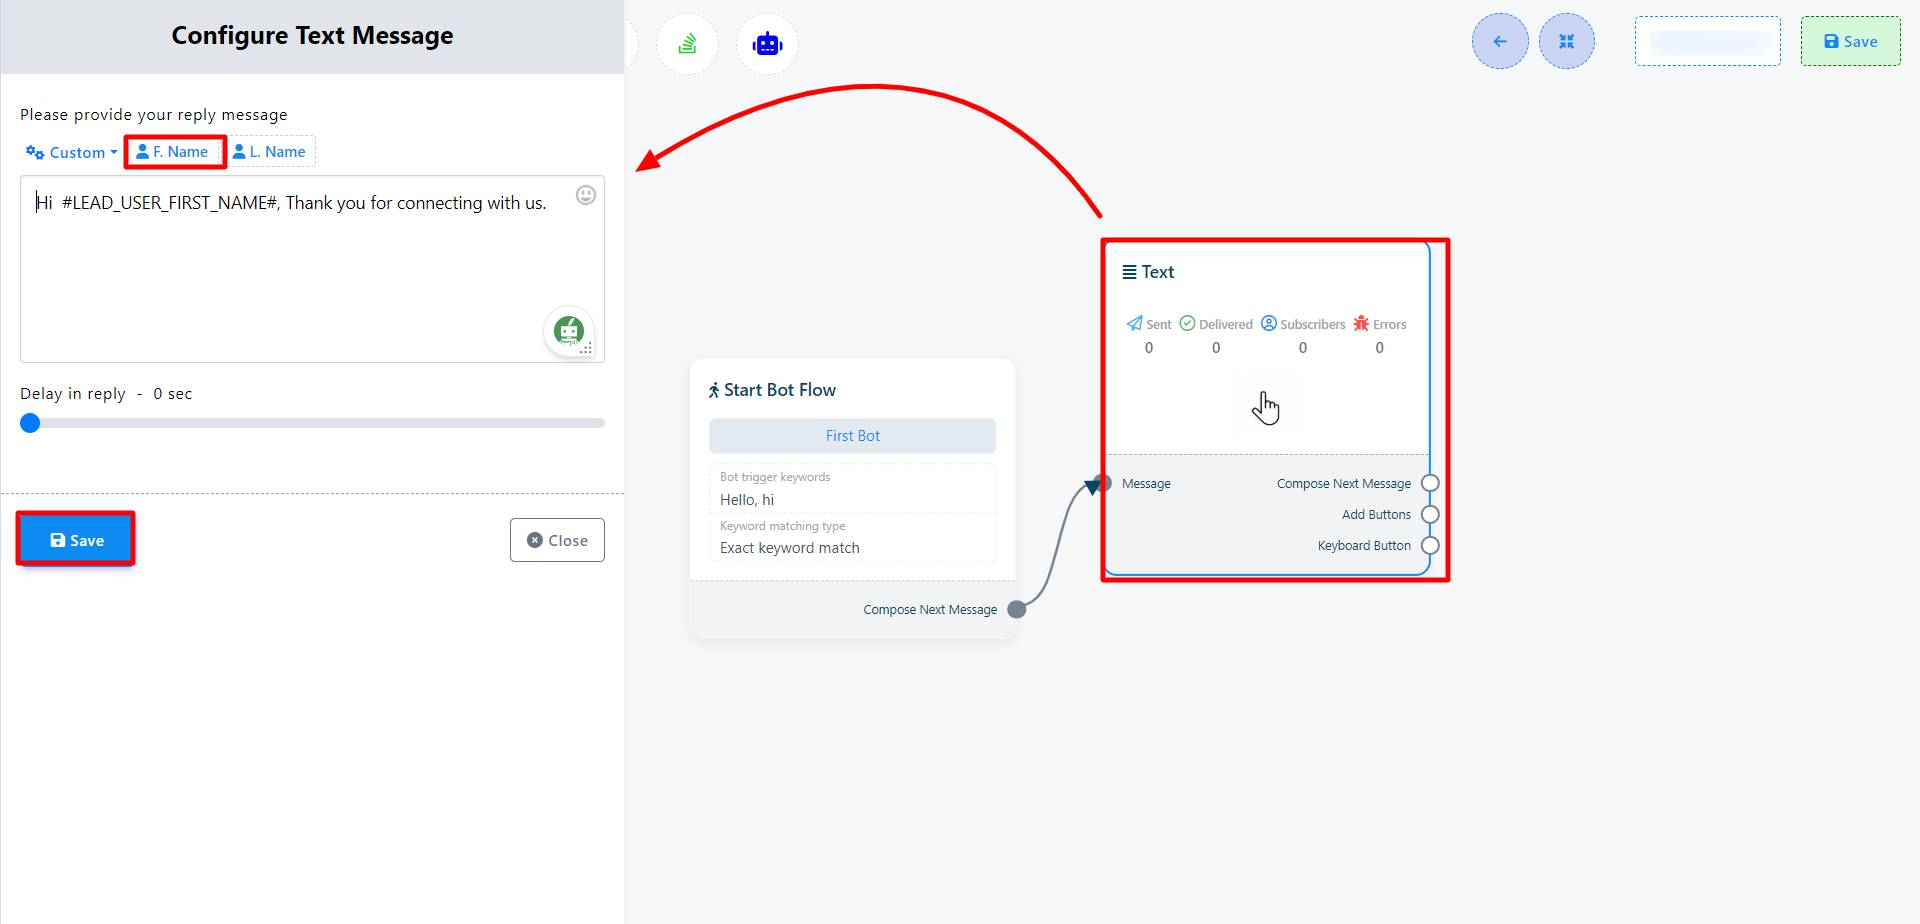
Now click on the Save button and the information will appear on the component. Then connect the text component with the Start bot flow component.
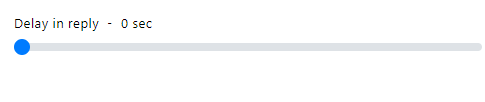
By selection Delay in reply you can set the delay time of your reply.
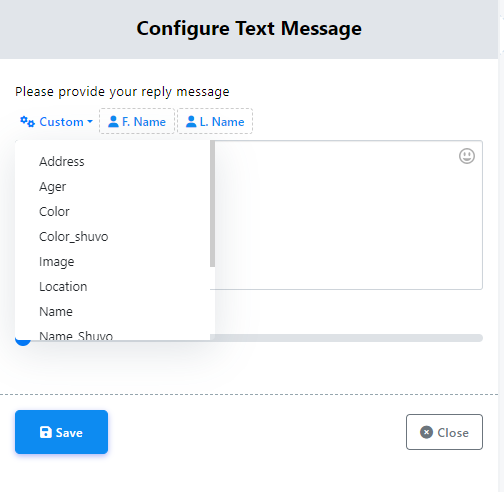
Include Custom variables in the reply message:
You can also insert custom variables into your reply message. Click the `Custom` button, select a variable from the drop-down menu, and it will be replaced with the actual value before sending the message.
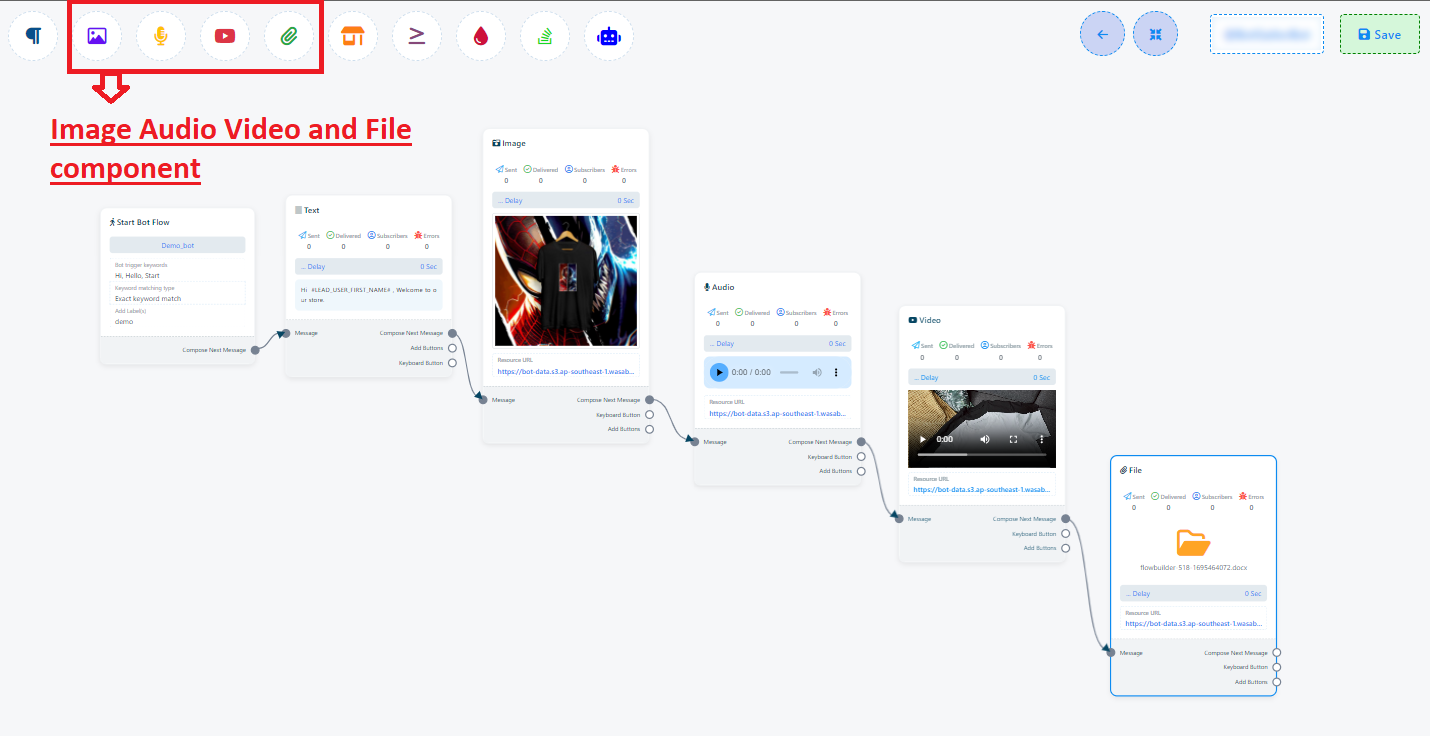
Image, Audio, Video, and File component:
Similarly, you have the option to incorporate image, audio, video, and file components into your chatbot. To use these components, you`ll need to upload the corresponding image, audio, video, or file. Afterward, you can establish connections between these components and other elements as needed.
In summary, here`s a quick guide to adding and configuring various components for your Chabot:
Text Component:
- Add a text component and double-click on it.
- In the `Reply message` field, enter your desired reply.
Set Delay in reply (If needed)
Image Component:
Add an `Image` component from the Top Menu.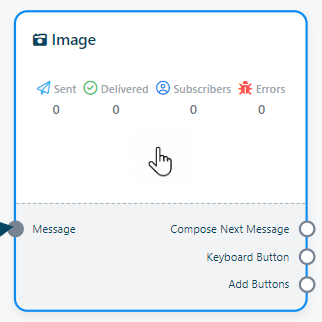
Set the image, you can use a URL of the image or just upload an image.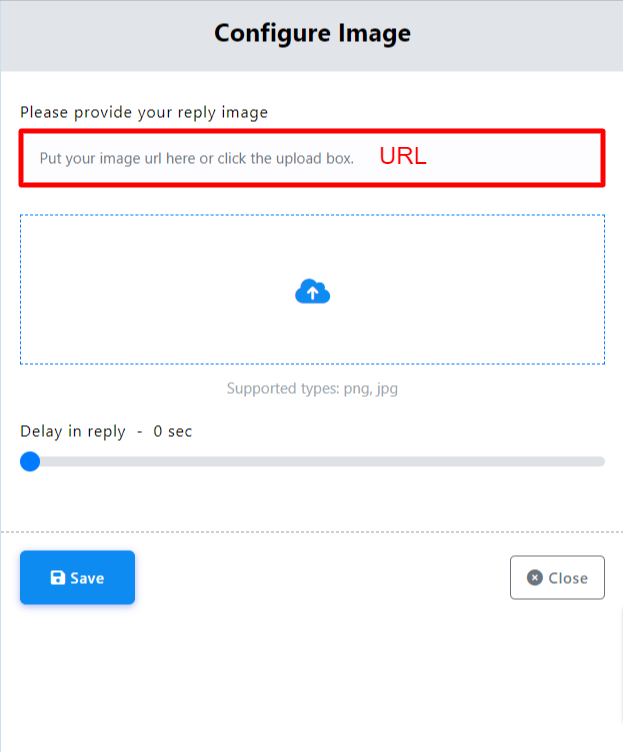
Video Component:
Add a `Video` component from the Top Menu.
Double-click on the Video component and set a video using its URL or by uploading one.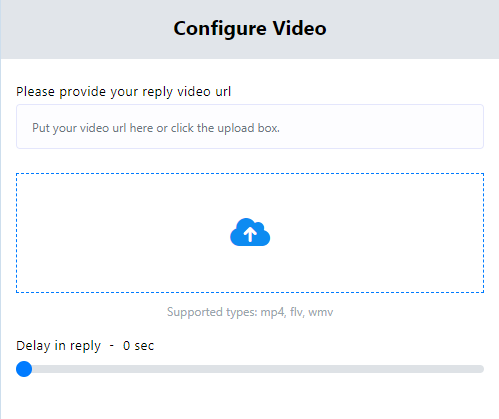
Audio Component:
Add an `Audio` component from the Top Menu.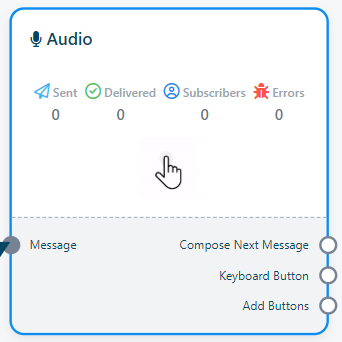
Double-click on the Audio component and set an audio using its URL or by uploading one.
File Component:
Add a `File` component from the Top Menu.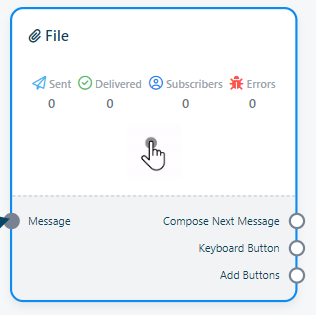
Double-click on the File component and set a file using its URL or by uploading one.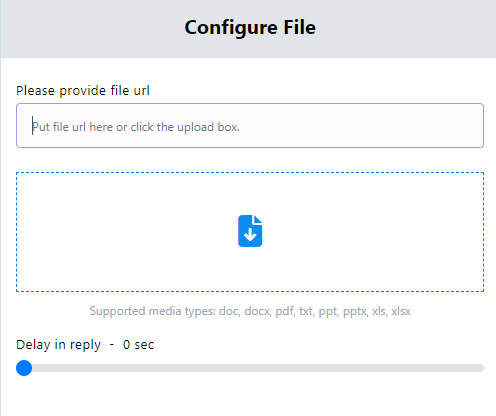
This straightforward guide will help you quickly and effectively configure these components for your chatbot.